How to Pipe Whipped Cream on Puddings: 5 Beginner-Friendly Patterns
Whipped cream is the cheapest upgrade a pudding gets. A glossy rosette, a clean swirl, a row of soft shells along the rim — none of it takes talent so much as a cold bowl, a properly filled bag, and a few minutes of practice on a spare plate. Here is how to fill a piping bag without cream escaping out the top, and five patterns you can pipe on individual puddings tonight.
Start With Cream That Holds Its Shape
Piping is only as good as what's in the bag. Use cold heavy cream with at least 35 percent fat — whipping cream or double cream, not half-and-half, and not the kind that comes out of a spray can. Put the bowl and beaters in the freezer for ten minutes before you start, and leave the cream in the refrigerator until the moment you pour it.
For one cup of cream, add one to two tablespoons of sugar, a pinch of salt, and a half teaspoon of vanilla. If you want rosettes that hold their edges for more than an hour, stabilize the cream with a tablespoon of instant vanilla pudding mix, a spoonful of mascarpone, or a little bloomed powdered gelatin. All three work; the pudding mix is the most forgiving.
Whip to firm peaks. The cream should hold a sharp point when you lift the beaters but still look smooth, not grainy or curdled. Stop a beat early and finish by hand if you're close, because overwhipped cream turns to butter fast. If it does go too far, stir in a splash of cold unwhipped cream to loosen it.
Then check your pudding. It needs to be completely cool and set, never warm. Heat melts cream from underneath, and your careful rosette will be a puddle within five minutes.
How to Fill a Piping Bag Without the Mess
The order of these steps matters more than any single one of them.
- Fit the tip before you fill. Drop the coupler base into the bag, push the tip through the opening, and screw on the ring. If your bag has no coupler, cut about 1.5 cm (half an inch) off the tip so the star's teeth are fully exposed.
- Seal the bag below the coupler. Twist the bag tightly just above the tip and push that twist down into the coupler. Nothing drips while you work.
- Stand the bag in a tall glass. Fold the top third over the rim like a cuff. The bag stays upright and both hands stay free.
- Fill only half to two-thirds full. Use a silicone spatula, scrape the sides down, and keep the cream level. An overfilled bag is heavy and hard to control.
- Squeeze the air out. Unfold the cuff, push the cream down toward the tip with your fingers, then twist the top closed.
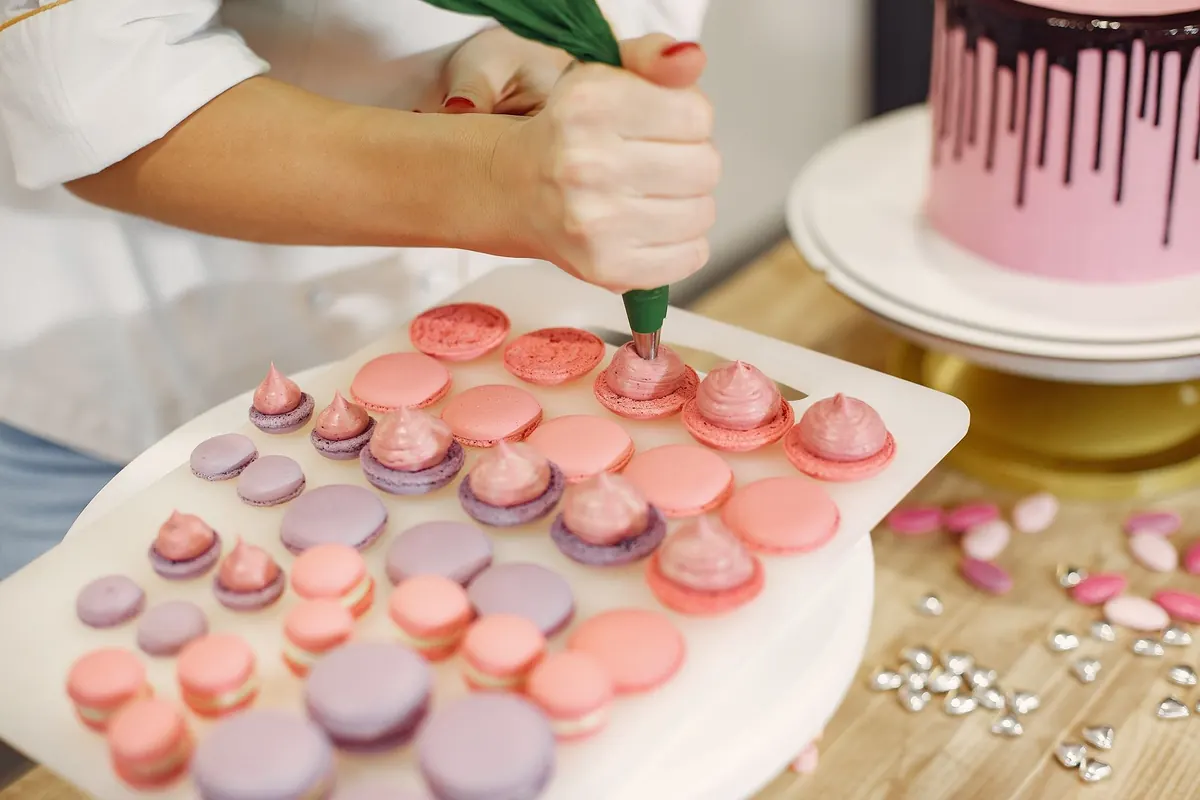
- Hold it correctly. Grip the twist with your dominant hand, letting the bag rest in your palm. Your other hand guides the tip and does not squeeze. Pressure comes from the top hand only.
No piping bag on hand? A zip-top bag with one corner snipped off handles the round-tip patterns below. Refill when the bag is about a third full rather than squeezing out the last smear.
Five Patterns Worth Learning First
Each of these takes seconds per pudding. Hold the bag at a 90-degree angle to the surface and keep the tip just above the pudding — dragging the tip through the cream flattens the ridges you worked for.
1. The Single Rosette
Use a large star tip; a 1M or 2D is the usual workhorse. Hold the tip just above the center of the pudding, squeeze steadily, and let the cream fan outward. When the rosette is roughly 4 cm wide, stop squeezing and lift straight up with a small clockwise twist. That twist closes the star cleanly instead of leaving a torn tail. One rosette in the middle looks intentional; three in a row suit an oval dish.
2. The Classic Swirl
Same star tip, different motion. Start at the outer edge of the pudding, squeeze, and travel inward in a slow spiral, raising the bag slightly as you go so each ring sits a little higher than the last. At the center, stop pressure and pull up for a small peak. If the swirl leans, chill the pudding for ten minutes — cold cream firms up and the shape sets.
3. The Cloud Puff
Switch to a plain round tip. Pipe three overlapping dollops: one large at the back, two smaller in front. Drag the tip lightly through the tail of each dollop to hide the seam, then finish with a quick flick of the wrist. This is the pattern for puddings with fruit or crumble underneath, since a cloud puff doesn't demand perfect symmetry.
4. The Shell Border
A ring of shells around the rim looks deliberate even when it isn't. With a star tip, touch the surface at the edge, squeeze while pushing the bag slightly forward and down, then release pressure and pull back so a short tail forms. Start the next shell on top of that tail. Space them evenly — five or six around a small ramekin — and leave the middle bare.
5. The Zigzag Rope
For oval or rectangular puddings, pipe a continuous zigzag from one end to the other with a star tip, letting the line double back on itself. Keep your wrist steady and move your whole arm; small nervous hand movements read as wobble. End by easing off the pressure and pulling sideways, so the last ridge tapers instead of finishing in a blob.
Quick Fixes for Common Problems
- Rosettes slump or spread. The cream is too soft or the pudding is too warm. Chill both, whip a little longer, and add a stabilizer.
- Cream looks grainy or separated. It's overwhipped. Fold in a spoonful of cold unwhipped cream.
- Ridges vanish as you pipe. The tip is too small for the pattern, or you're dragging the tip through the cream. Go larger and lift the bag slightly.
- Air pockets and sputtering. The bag wasn't packed tight enough. Push the cream down before twisting, and refill before it's empty.
- Every shape leans the same way. The bag isn't vertical. Check your tip angle against the pudding, not against your hand.
- Shapes come out different sizes. Count. "One-two" for a shell, "one-two-three" for a rosette, and keep the count consistent.
Finishing and Serving Notes
Pipe last, right before serving if you can. Whipped cream on a cold pudding holds its shape for two to three hours in the fridge, longer if stabilized. Add garnishes after piping, not before: a few raspberries pressed into the side of a rosette, shaved dark chocolate, cocoa dusted through a fine sieve, or a strip of lemon zest. Keep them small so they sit in the cream rather than bury it, and don't stack the puddings — cream collapses under weight.
Practice on a Plate First
Before you touch the puddings, pipe one of each pattern onto an upside-down plate. You'll see immediately which tip suits your hand and how much pressure each shape needs. If the cream is still cold, scrape it back into the bowl, rewhip for a few seconds, and reload the bag. Five minutes of this is the difference between a wobbly blob and a rosette worth photographing. Start with the rosette, repeat it until it feels boring, then move down the list.
Photo: Gustavo Fring / Pexels