No-Bake Summer Pudding Cups: Recipe and Decoration Guide
A bowl of ripe berries in July doesn't need much help. Put those berries in a small glass, spoon soft cream over them, and hand it to someone at the end of a long dinner outside, and it becomes something else entirely. These no-bake summer pudding cups come together in about twenty minutes, hold in the fridge overnight, and forgive a slightly messy layer. No oven, no custard to set, no fuss the day you serve them.
What You Need for Six Cups
- 3 cups mixed summer berries — strawberries hulled and quartered, raspberries, blueberries, blackberries, and a small handful of redcurrants if you find them
- 2 tablespoons granulated sugar, plus more to taste
- 1 tablespoon fresh lemon juice, plus 1 teaspoon grated zest
- 8 ounces mascarpone, cold
- 1 cup cold heavy cream
- 1/4 cup powdered sugar
- 1 teaspoon vanilla extract
- A pinch of fine salt
- About 4 ounces sponge fingers, pound cake, or shortbread for the base
- Optional: 2 tablespoons elderflower cordial or 1/2 teaspoon rose water
You'll also want six 8-ounce jars or straight-sided glasses, two mixing bowls, a hand mixer, a piping bag with a star tip, and a fine sieve. Straight sides matter more than they sound — they let you see the layers, which is half the appeal.
The Base Recipe, Step by Step
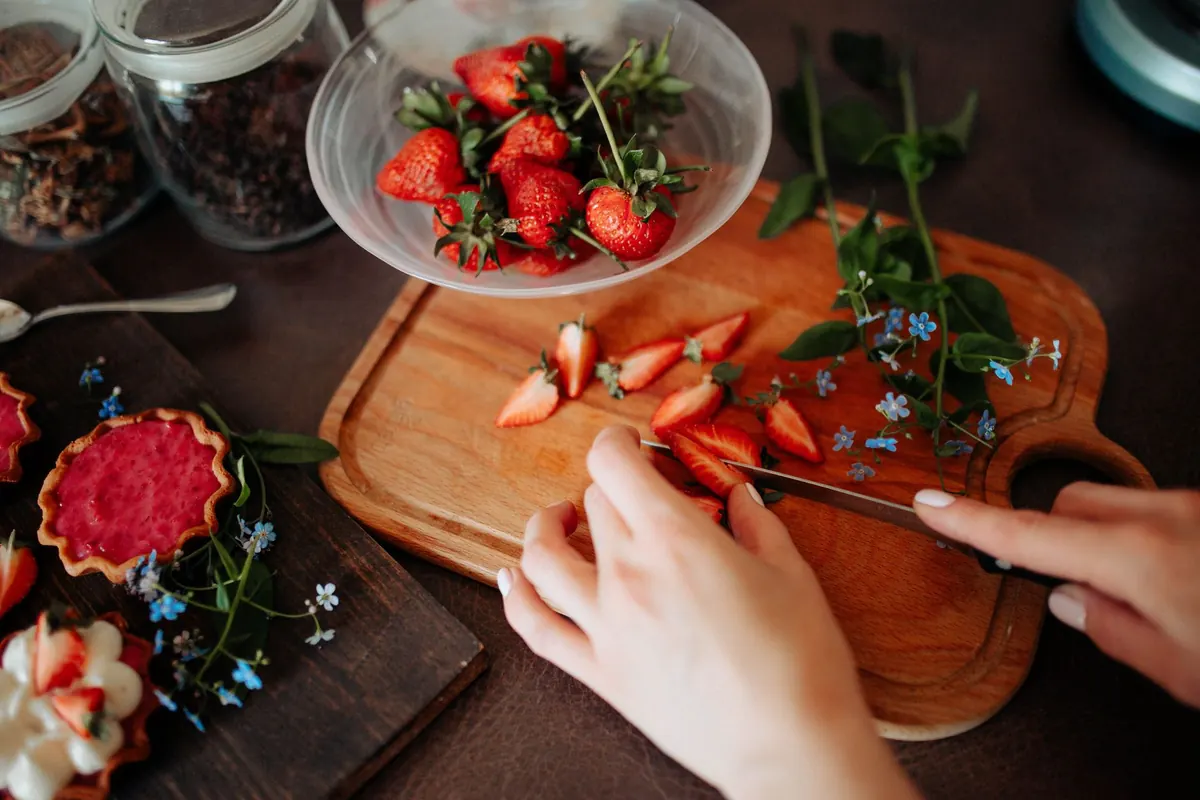
- Toss the berries. Combine the fruit, granulated sugar, lemon juice, and zest in a bowl. Stir gently, cover, and leave at room temperature for 20 to 30 minutes, stirring once. The sugar pulls out juice, and that juice is what makes these cups taste like summer instead of like sweet cream. Taste and add a little more sugar if the fruit is sharp, then set aside half a cup of berries for the tops.
- Prep the base. Break the sponge fingers or cake into rough half-inch pieces. If you're using shortbread, crush half of it and leave the rest in small shards for crunch. You need enough to cover the bottom of each jar by about half an inch.
- Whip the cream. Put the mascarpone, powdered sugar, vanilla, and salt in a cold bowl and beat for 30 seconds, just to loosen it. Add the cream in three additions, starting on low and moving to medium. Stop at soft-medium peaks, when the tip of the cream curls slightly. Over-beaten mascarpone cream goes grainy, and it doesn't come back.
- Layer. Spoon in the base and press lightly. Add berries and some of their juice, then cream. Repeat once, finishing with cream and leaving half an inch of headroom. For tidy visible layers, tilt the jar and drop the berries against the glass first, then fill the middle with cream.
- Chill. Cover and refrigerate at least 2 hours, or overnight. The base softens and the layers settle, which is exactly what you want.
Berry Notes: Which Ones Hold and Which Ones Bleed
Not all berries behave the same way in a cold dessert. Strawberries release a lot of liquid and soften quickly. Raspberries and blackberries hold their shape but collapse if you stir them hard. Blueberries stay firm and barely bleed at all. Redcurrants and blackcurrants bring a tartness that keeps the cups from tasting flat, and a few go a long way.
Macerating Without Making Soup
Two tablespoons of sugar is plenty for ripe fruit; use one if your berries are very soft. Add the lemon juice either way — the acid sharpens flavor and slows the fruit's breakdown. Let the berries sit no longer than 45 minutes at room temperature, then move them to the fridge. If you're assembling more than two hours ahead, drain the fruit, keep the syrup separately, and spoon it back in just before serving so the layers stay distinct.
Cream That Holds a Decorative Edge
Mascarpone is the reason this cream pipes and holds for hours. It's dense and lightly tangy, and it stabilizes whipped cream without gelatin or pudding mix. Keep everything cold — the bowl, the beaters, the cream straight from the fridge. If your kitchen is warm, set the mixing bowl inside a larger bowl of ice water while you whip.
Rescuing Over-Whipped Cream
If the cream turns grainy, stop beating. Stir in a tablespoon or two of cold, unwhipped cream by hand and it will smooth out. If it has gone all the way to butter, start fresh and save the grainy batch for your coffee.
Decoration: Piping, Dusting, and Finishing Touches
Decorate an hour before serving at the most. Cream holds best on a chilled surface, but delicate fruit and herbs wilt in the refrigerator.
- Piped rosette: fill a piping bag fitted with a star tip and pipe one rosette in the center of each cup, lifting straight up at the end.
- Freeze-dried berry dust: crush freeze-dried raspberries in a bag and sieve the powder over the cream for a sharp pink edge with no extra sweetness.
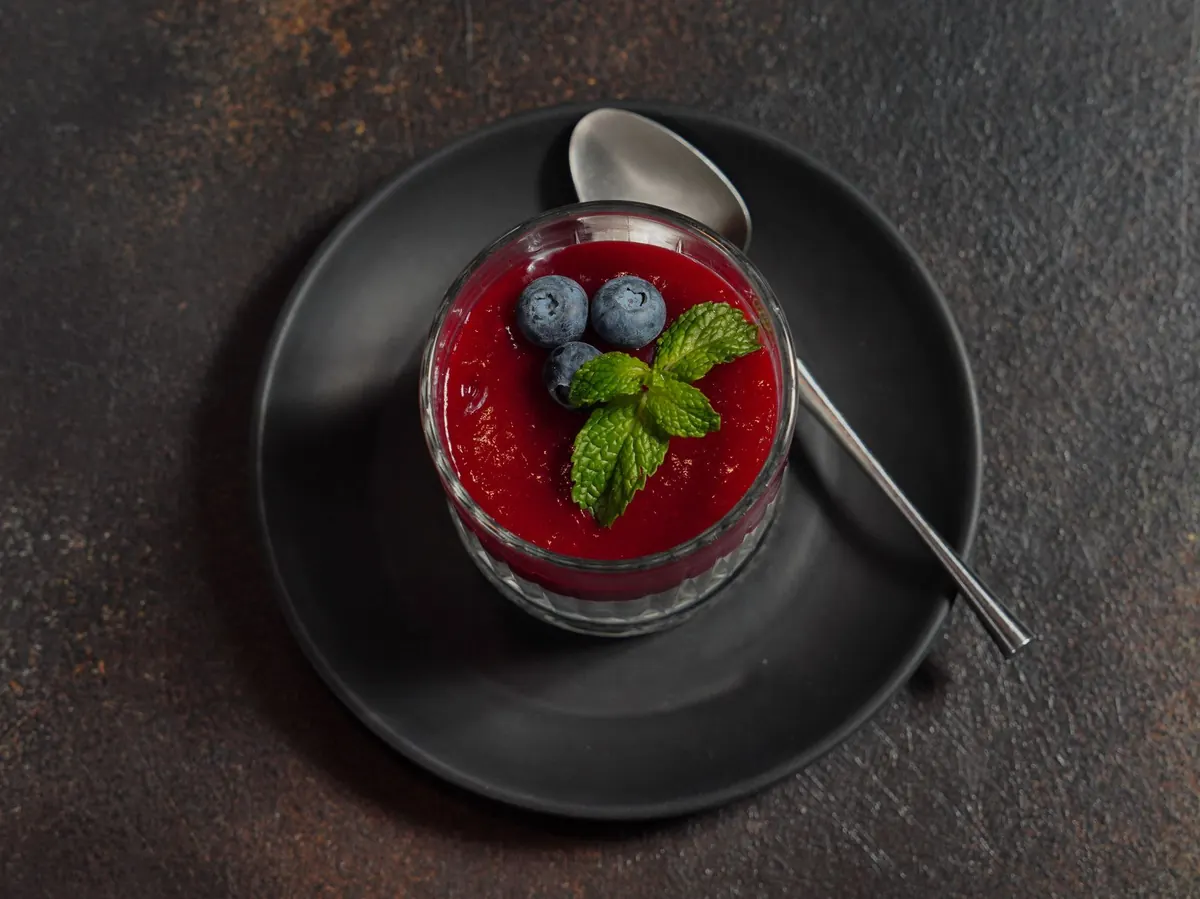
- Fresh fruit crown: arrange three small berries — a raspberry, two blueberries, a thin slice of strawberry — in a loose triangle.
- One green note: a single small mint or basil leaf, or a curl of lemon zest.
- A thin cookie: tuck a piece of shortbread or a tuile into the cream at an angle so it stands upright.
- Crumb finish: scatter crushed pistachios or cocoa nibs around the edge for texture against the soft layers.
Choose two or three of these per cup, not all of them. Restraint is what makes a decorated cup look like it came from a pastry case rather than a garnish bin.
Make-Ahead Timing and Storage
Undecorated cups keep in the fridge for up to 24 hours. Past that, the berries bleed into the cream and the base turns to mush. Cover each jar tightly, because cream picks up fridge odors quickly.
Keep them below 40°F (4°C) and don't leave them out for more than two hours at a table or picnic. These cups don't freeze well — the cream separates and turns icy when thawed. If you have dietary restrictions, or you're pregnant or immunocompromised, check with a healthcare professional about the dairy and any uncooked ingredients you plan to use.
Three Variations Worth Trying
- Peach and honey: swap half the berries for sliced ripe peaches, use honey instead of sugar, and add a pinch of cinnamon to the cream.
- Strawberry and basil: macerate strawberries with the sugar and one torn basil leaf, then remove the leaf before layering.
- Coconut and mango: for a dairy-free version, whip chilled coconut cream with powdered sugar in place of the mascarpone mixture and layer with diced mango and lime zest. Coconut cream holds less firmly, so serve it in glasses rather than piping tall rosettes.
Serve Them Cold, and Don't Overthink the Layers
These cups are at their best the day they're built, ideally within a few hours of decorating. Set them on a tray, carry them out, and let people help themselves. If you're taking them somewhere, pack them in a cooler with a folded towel underneath so the jars don't slide, and add the decorative toppings once you arrive.
One last thing: taste the berries before you sweeten them, and taste the cream before you layer it. A fruit dessert is really just a suggestion, and the best version is the one built around what's actually in your bowl.
Photo: Nadin Sh / Pexels